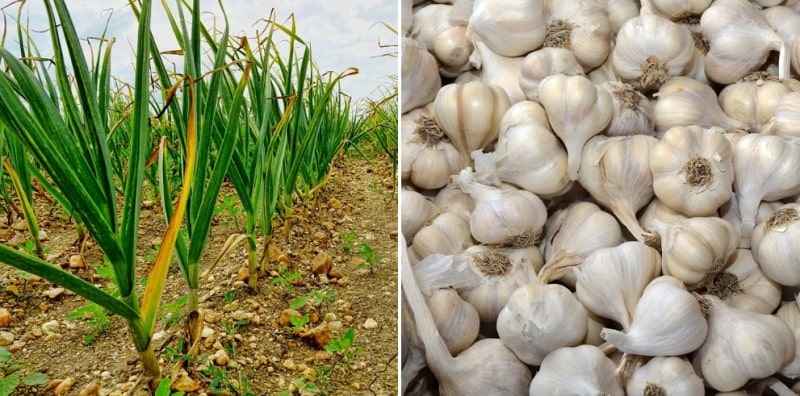
Garlic farming can be a rewarding venture for those interested in cultivating a versatile and flavorful crop. Garlic is not only a staple ingredient in many cuisines but also has numerous health benefits. It’s relatively low-maintenance compared to some other crops, making it suitable for both small-scale and large-scale farming operations. Here’s a step-by-step guide to help you start your own garlic farm:
Step 1: Choose the Right Location:
Select a location with well-draining soil and ample sunlight. Garlic prefers loose, loamy soil with a pH level between 6.0 and 7.0. Adequate sunlight is crucial for healthy plant growth and bulb development.
Step 2: Prepare the Soil:
Prepare the soil by removing any weeds, rocks, or debris. Till the soil to a depth of about 8-10 inches to improve drainage and aeration. Incorporate organic matter such as compost or aged manure to enrich the soil with nutrients.
Step 3: Select Garlic Varieties:
Choose garlic varieties that are well-suited to your climate and soil conditions. There are two main types of garlic: softneck and hardneck. Softneck varieties are better suited to warmer climates, while hardneck varieties tolerate colder temperatures.
Step 4: Obtain Garlic Seed Cloves:
Purchase high-quality garlic seed cloves from a reputable supplier or save cloves from your previous harvest. Make sure the cloves are firm, disease-free, and of uniform size.
Step 5: Planting Garlic Cloves:
Plant garlic cloves in the fall, typically between September and November, depending on your location. Space the cloves about 6-8 inches apart and plant them with the pointed end facing up, at a depth of 1-2 inches. Cover the cloves with soil and water thoroughly.
Step 6: Provide Adequate Water and Nutrients:
Keep the soil evenly moist, especially during the early stages of growth. Avoid overwatering, as garlic bulbs may rot in waterlogged soil. Fertilize the garlic plants with a balanced fertilizer high in nitrogen to promote healthy foliage growth.
Step 7: Weed and Mulch:
Regularly remove weeds that compete with garlic plants for nutrients and water. Mulch the soil with straw or organic mulch to suppress weed growth, conserve moisture, and regulate soil temperature.
Step 8: Monitor Pests and Diseases:
Keep an eye out for common garlic pests such as aphids, thrips, and nematodes. Practice crop rotation and proper sanitation to prevent the buildup of pests and diseases in the soil. If necessary, use organic pest control methods such as insecticidal soap or neem oil.
Step 9: Harvesting Garlic:
Harvest garlic bulbs when the tops begin to yellow and dry out, typically in late spring or early summer, about 8-9 months after planting. Carefully dig up the bulbs with a garden fork, taking care not to damage them. Allow the harvested bulbs to cure in a warm, well-ventilated area for 2-3 weeks to enhance flavor and storage life.
Step 10: Storage and Enjoyment:
After curing, trim the garlic tops and roots, leaving a short stem attached to the bulb. Store the cured garlic bulbs in a cool, dry place with good air circulation, such as a mesh bag or basket. Enjoy your homegrown garlic in a variety of culinary dishes or share with family and friends.

