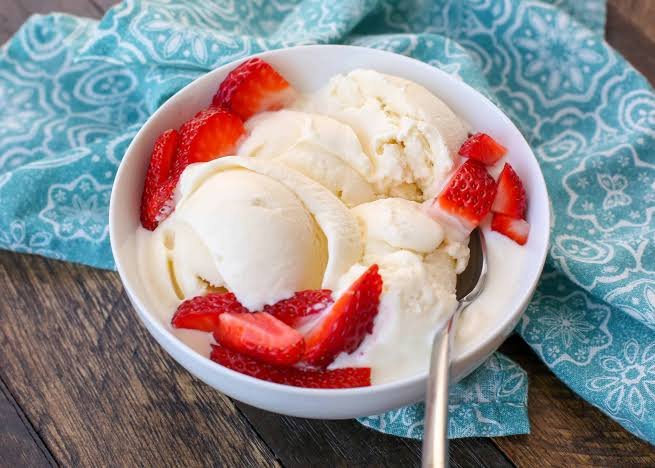

By Ify Mgbemena
There is something about ice cream that makes almost every celebration, movie night or hot afternoon feel complete. Yet, many people assume making it at home requires an expensive ice cream machine, professional baking skills or ingredients that are difficult to find.
With just a few everyday ingredients, a bowl, a whisk or mixer and a freezer, you can make rich, creamy ice cream that rivals what you buy from restaurants and supermarkets. The secret lies not in special equipment but in using the right ingredients, combining them properly and allowing enough time for the mixture to freeze.
Whether you are preparing dessert for your family, looking for a fun weekend kitchen project or simply trying to save money without sacrificing quality, this homemade ice cream recipe delivers smooth, delicious results that are surprisingly easy to achieve.
Ingredients
Heavy whipping cream (well chilled)
Sweetened condensed milk
Vanilla extract
A pinch of salt (optional, but enhances the flavour)
Optional mix-ins
Crushed chocolate cookies
Chocolate chips
Fresh strawberries, mangoes or bananas (chopped into small pieces)
Caramel or chocolate syrup
Roasted peanuts or almonds
Coconut flakes
Rainbow sprinkles
Step 1: Chill Your Ingredients
For the best results, refrigerate the whipping cream for several hours before you begin. A cold cream whips faster and traps more air, giving your ice cream a light, creamy texture.
If possible, place your mixing bowl and whisk in the refrigerator for about 15 minutes before starting.
Step 2: Whip the Cream
Pour the chilled whipping cream into a large bowl.
Using an electric hand mixer or a whisk, beat the cream until stiff peaks form. This means the cream should hold its shape when you lift the whisk.
Avoid over-whipping, as this can turn the cream grainy and eventually into butter.
Step 3: Add the Condensed Milk
Pour the sweetened condensed milk into the whipped cream.
Add the vanilla extract and the pinch of salt.
Using a spatula, gently fold everything together with slow, circular motions. Do not stir vigorously, as this will remove the air incorporated into the whipped cream, making the final ice cream less fluffy.
Continue folding until the mixture becomes smooth and evenly combined.
Step 4: Add Your Favourite Flavours
This is where you can customise your ice cream.
For chocolate ice cream, fold in cocoa powder or melted chocolate.
For cookies and cream, mix in crushed chocolate cookies.
For fruit flavours, gently fold in chopped strawberries, mangoes or bananas.
You can also swirl in caramel or chocolate syrup instead of fully mixing it to create beautiful ribbons of flavour.
Step 5: Transfer to a Freezer Container
Pour the mixture into a clean freezer-safe container.
Smooth the surface with a spatula and cover it tightly with a lid or plastic wrap.
Keeping air out helps prevent ice crystals from forming.
Step 6: Freeze
Place the container in the freezer for at least six to eight hours.
For the richest texture, leave it overnight.
Unlike many traditional recipes, this no-machine version does not require you to remove the mixture and stir it every few hours.
Step 7: Serve
When ready to serve, remove the container from the freezer and let it sit at room temperature for about five minutes.
This softens the ice cream slightly, making it easier to scoop.
Serve in cones, bowls or alongside cake, snacks , waffles or fresh fruit.
Tips for Perfect Homemade Ice Cream
* Always use chilled whipping cream.
* Fold the ingredients gently to maintain a light texture.
* Use a container with a tight-fitting lid to reduce ice crystal formation.
* Do not overfill the container, as the mixture expands slightly while freezing.
* Homemade ice cream is best enjoyed within two weeks for the freshest taste and creamiest texture.
* Experiment with different flavours such as coffee, mint, lemon zest, peanut butter or crushed biscuits to create your own signature recipe.